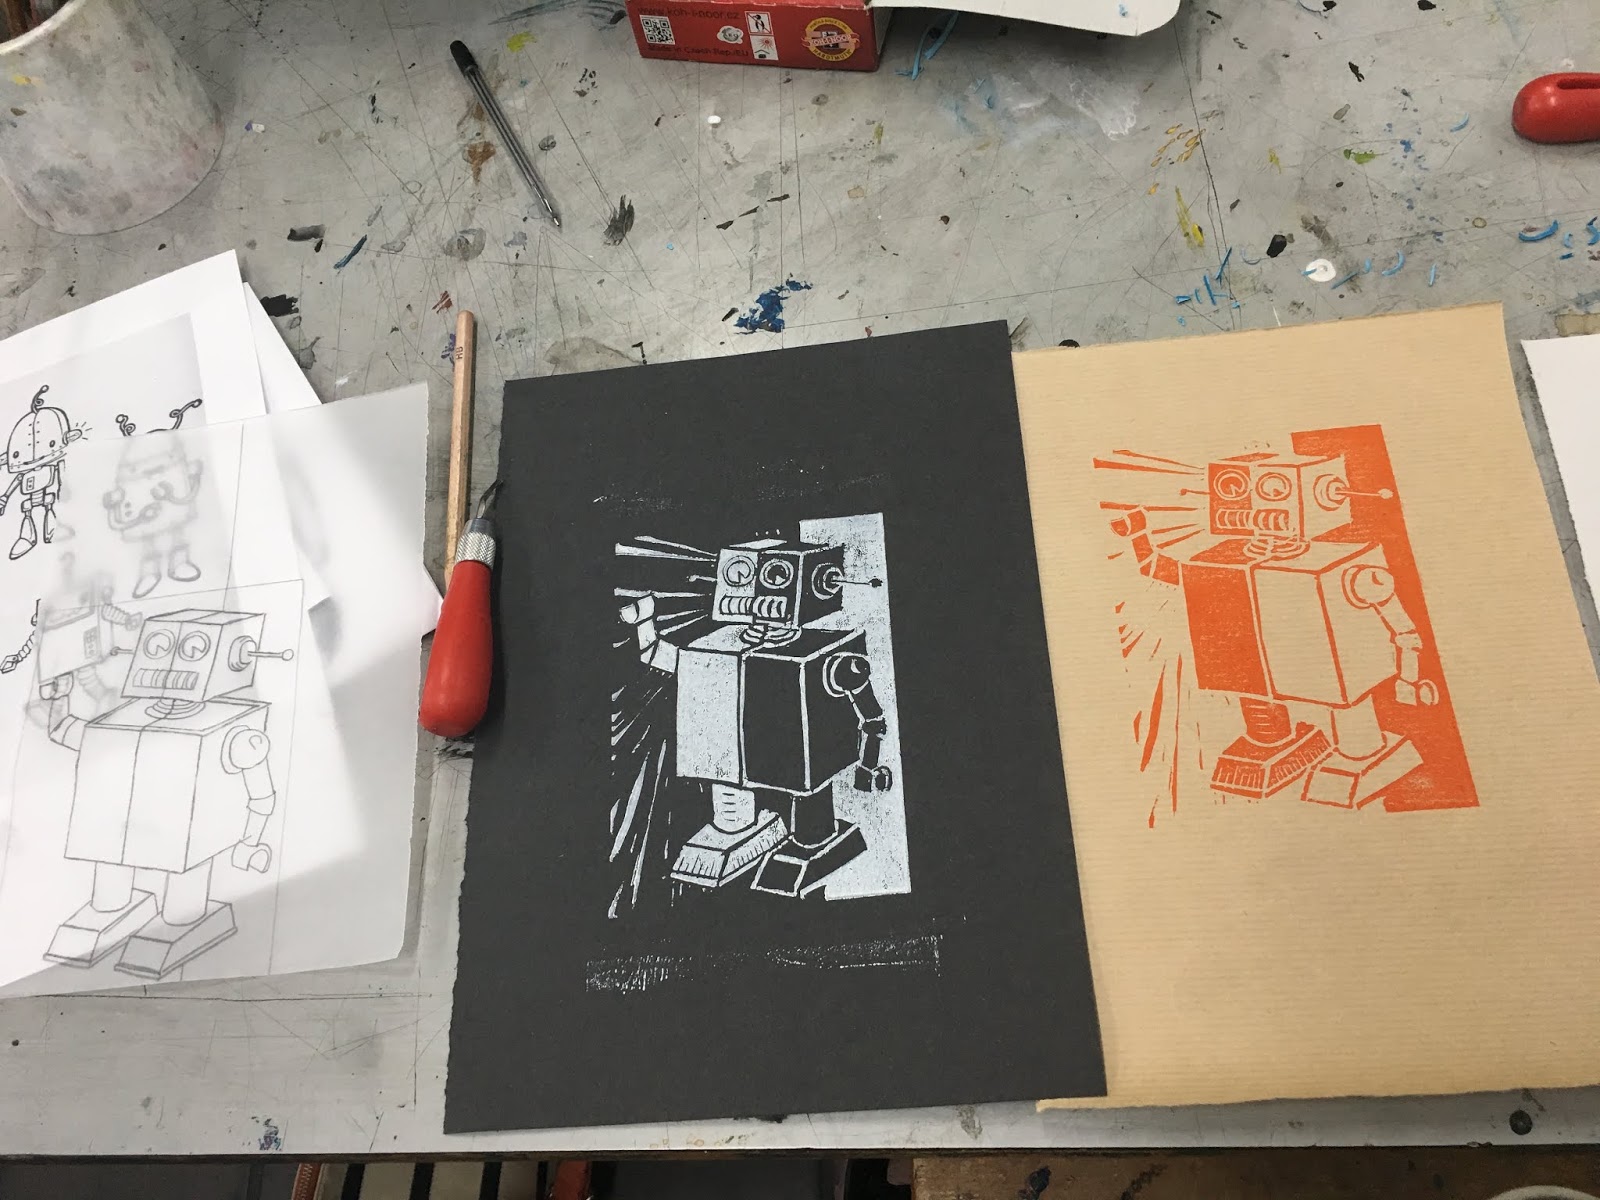
Following on from our discussions in class, I thought it may be helpful to record the process of printing, drying, tearing down and editioning a print. This particular print is going to a print exchange in Australia. The theme is 'In my back yard' and the print has to be 12cm square with no restrictions on print area. I have used 220gsm Fabriano Rosapina Bianco and Lawrence Letterpress Relief Ink Carbon Black.
Printing
Take care to wipe any excess ink that may have caught cut lines.
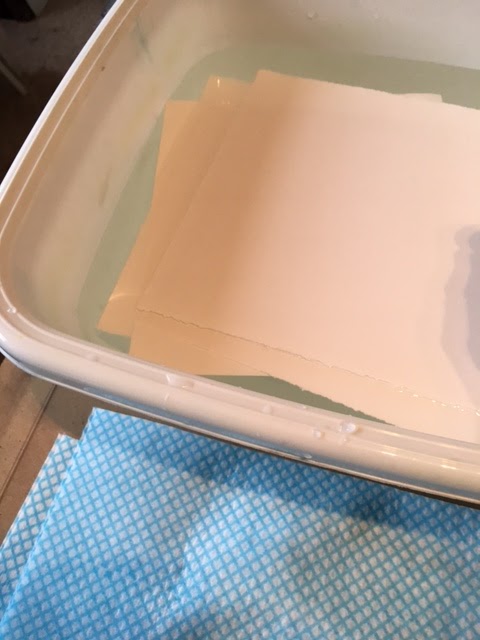
Soak your paper for about 30 minutes, then damp down until no water is left on the surface. Make sure your paper has at least a 2 cm border around your lino to make positioning and handling easier.
Because the paper is damp, when pressed onto the lino, it will impress any un-inked cut lines. This may leave embossed marks on your paper (sometimes this is a desired effect called blind embossing). To avoid this happening I created a little frame from lino off cuts to prevent any cut lines on the edge of the lino embossing the paper.
Always print more than you need for your edition, in case you get dirty marks or you have a problem tearing down a print.
Drying
Use grease-proof or silicon baking paper to wrap each print then press with a heavy book until dry. Don't rush this part of the process. Keep checking your prints and press for as long as you can to ensure they are completely dry (the prints should not start to curl once you have taken them out - if they do then put them back to press for longer).
Tearing Down
Create a template to mark the edges of your print. With a pin make a hole at each corner.
Flip the print face down and using a metal ruler carefully tear each side of the print (place the ruler just over the pin hole so that you don't loose you mark when you tear the paper).
and finally....
Number, title and sign each print using a soft pencil - I would practice on one of your extra prints before hand.